The technique is called "Transfer Medium" or the "transfer technique" - now I know a lot of you out there are probably thinking...gee, is that all...but like I said...this stuff is new to me (and maybe some of you) ... and I wanted to share my working piece of art with you anyway :-)
I started with a 12" x 12" Mont Marte canvas panel and covered it in X-Press It Triple Tac Glue (the instructions for this technique are actually on the side of the glue label). I then took a pattered piece of paper from the Kaisercraft "Timeless Classics" collection and glued it right side down onto the canvas. I know...scary! This was a big step for me and WAY away from my usual techniques that I use for my cardmaking.
Then you have to wait for it to dry for 24 hours. After its dry you put water (I used a spray bottle) on the paper and use your finger to gently rub off the white (what was the underneath of the paper - but its now the top) part of the paper until you reveal the reverse image of the original pattern that you glued down. You end up something like this:
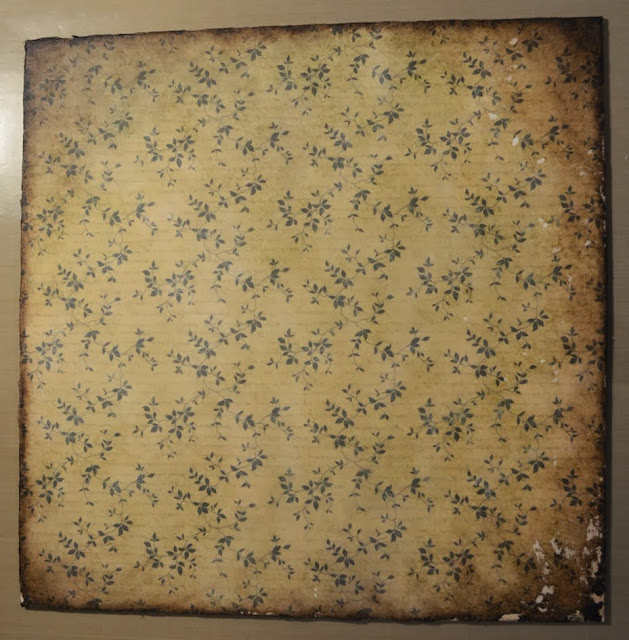
The above image has had a few more steps added in... and you can see that I got a bit carried away in places and accidentally rubbed off the patterned paper too - revealing the canvas below it. It was my first try so I thought I did pretty well.
After I rubbed off all the white section I let it dry and then applied Distress Ink "Old Paper" over the whole lot. I did this because I found that there was still a slight "whitish" look to the patterned paper (even though I had rubbed off as much of the paper as I could). Once I put the distress ink over the top it looked much better. I then went around the edge and applied Distress Ink "Walnut Stain".
So now I've decided that I will make a piece of "wall art". So I decided to try adding some Tim Holtz tissue paper and tissue tape (both also relatively new to me). I used Claudine Hellmuth Studio Multi-medium matte to glue the tissue paper down and also used it to help with parts of the tissue tape where the sticky wasn't working quite like I wanted it to.
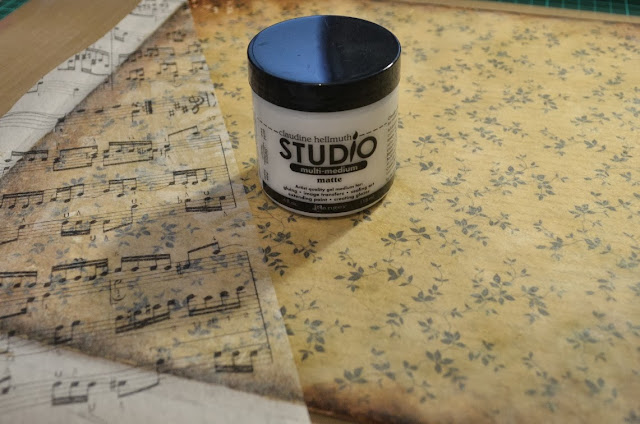
I used Tim Holtz idea-ology Tissue wrap - Composer


Also used Tim Holtz idea-ology Tissue tape - Sketchbook
As you can see I was adding the paper and tape to "hide" my extra vigorous rubbing mistakes... and to tidy up the edge of the canvas as the paper was the same size as the canvas and didn't wrap around the edges very neatly.
I also added a tiny bit of colour to some of the butterflies with Distress Ink "Squeezed Lemonade" and "Salty Ocean".
This is as far as I have got so far...I must say I really enjoyed delving out into the "unknown". I had fun and looking forward to having more fun with some chipboard - something else I haven't used a lot of to date. Will post more as I find time to work on it :-)
This project is looking really interesting and I look forward to see what else you do to it. I would have been a non-believer about putting the paper right side down and am amazed how that stuff works. :) Craft on!
ReplyDelete